Create your custom form
This tutorial walks you step by step through building a form in the custom form designer to digitize a supply purchase request, with a subsequent review by a supervisor.
The goal is to create a single form whose visibility adapts to the process step: first so the employee can complete the request, and later so the supervisor can view it and make a decision.
Process context
An administrative area needs to receive requests to purchase office supplies. Employees must detail the required items, and a supervisor must review and approve (or reject) each request.
The flow includes two main stages:
Request entry: completed by the employee.
Review and decision: carried out by the supervisor.
Before creating the custom forms, make sure the process already has the corresponding steps defined in the process designer.
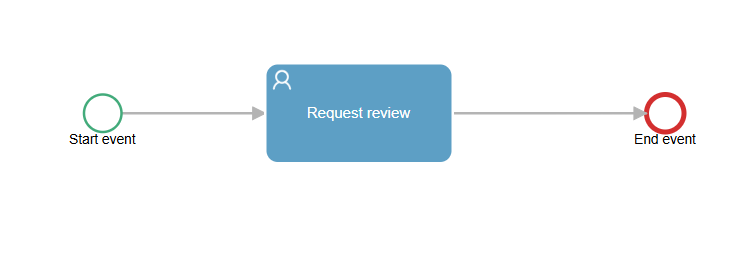
The flow must include at least the following steps:
Start event – Purchase request (Employee role): allows the user to enter request details, including item description, required quantity, and a justification for the purchase.
User task – Request review (Supervisor role): allows the supervisor to analyze the information entered by the employee, add comments if needed, and decide whether to approve or reject the request.
Go to Design and select the process where you will build the custom form.
Click the Start event: Purchase request step (role: Employee).
In the right panel, under the Form section, select Create custom form.
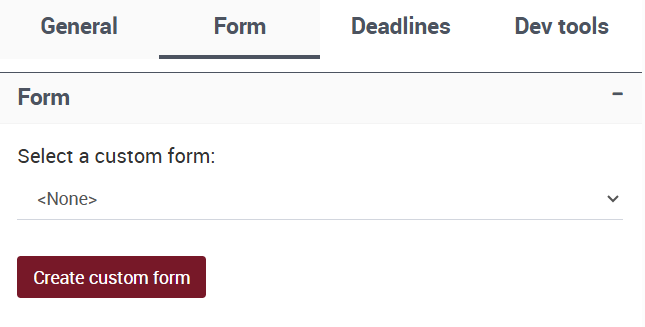
The system will automatically generate the form name and link it to the flow name.
Then select the User task: Request review step (role: Supervisor) and assign the same form created earlier.
Note
The same form can be used in several steps of the process. You will configure the visibility of its components later, according to the role and the corresponding step.
Design the single form with step-based visibility
The form will be used by both the employee and the supervisor at different steps of the process. The visual structure is single, and what changes is the visibility of the data depending on the step.
Components to include
From the left panel, drag the following components into the designer’s central area and assign them these names:
Component type |
Name |
|---|---|
Text (single line) |
|
Number |
|
Text (multi-line) |
|
Checkbox |
|
Text (multi-line) |
|
Configure field visibility and behavior
You define field visibility and behavior for each stage from the form designer. For our process, configure:
Employee step (Purchase request):
Item description,Requested quantity,Request justification: editableApproved,Comments: Missing
Supervisor step (Request review):
Item description,Requested quantity,Request justification: read onlyApproved,Comments: editableResponses: “Approve”, “Reject” (for more on handling responses, see the User Task subsection)
These settings let you adapt the form’s behavior to each stage of the process:
In the request step, the employee fills in the required fields, while the fields reserved for the supervisor remain missing.
In the review step, the supervisor can view the data entered by the employee without modifying it and access only the fields needed to make a decision.
Note
All data is added to the form only once. You configure visibility and behavior from the designer, according to the process step.
Validate the design with a preview
From the designer’s top bar, click Preview and select “Open Form.”
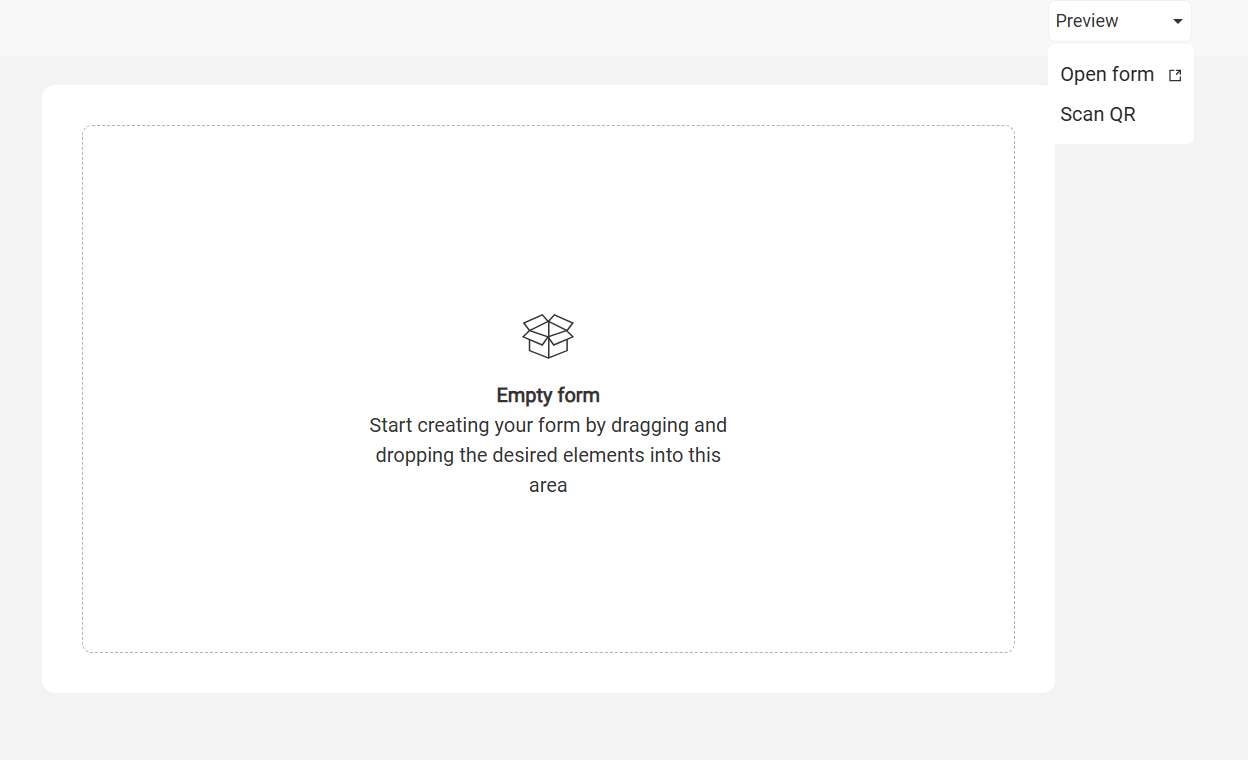
A new tab will open with the visual structure of the active form.
Check:
Labels, alignment, and field layout.
Visual behavior on desktop and mobile devices.
If you want, use the Scan QR option to test the form on a phone or tablet.
Note
The preview does not simulate real process execution. To validate behaviors such as navigation, decisions, or rules, you must run a real instance of the flow.
Run a test instance
From Design, publish the current version of the process.
Then start an instance from Task, where processes begin.
Expected result
The Employee accesses the form with all fields enabled for input.
The Supervisor accesses the same fields in read-only mode, with new fields to make a decision.
The form respects the visibility and configuration defined for each step.
The supervisor’s actions can trigger subsequent steps or integrations defined in the process design.
This approach allows you to maintain separate forms per role, reusing data without duplication and controlling exactly the expected visibility and behavior in each task.
Note
For a full test, make sure to assign yourself to both tasks and complete the corresponding forms: first as the employee and then as the supervisor.