Redmine
Introduction
The purpose of this manual is to detail how to configure and integrate Qflow with Redmine to allow interaction between both platforms, allowing users to create and update issues.
Redmine has the following actions:
Prerequisites
It is necessary to have a Redmine installation and a user with permissions to create and update issues.
Application parameter
To establish the connection it is necessary to have at least one application parameter (see Application parameters) that allows to establish communication between Qflow and Redmine. This field is used to configure the connector of a Service Task in Qflow. (see Configuring Connectors from a Service Task)
To create a Redmine application parameter, the following steps are required.
Application parameter using API Key
This type of application parameter requires the following parameters:
Redmine Url: Link with which you access the Redmine service
API Key: Key to access Redmine services
To obtain them, the following steps must be followed:
Access Redmine and copy the link from the main page. For example, https://redmine.my_organization.com/.
Go to My Account
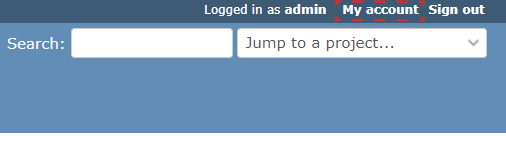
Fig. 829 My Account marked on the home page
Click on Show in the API Key section and copy the API Key.
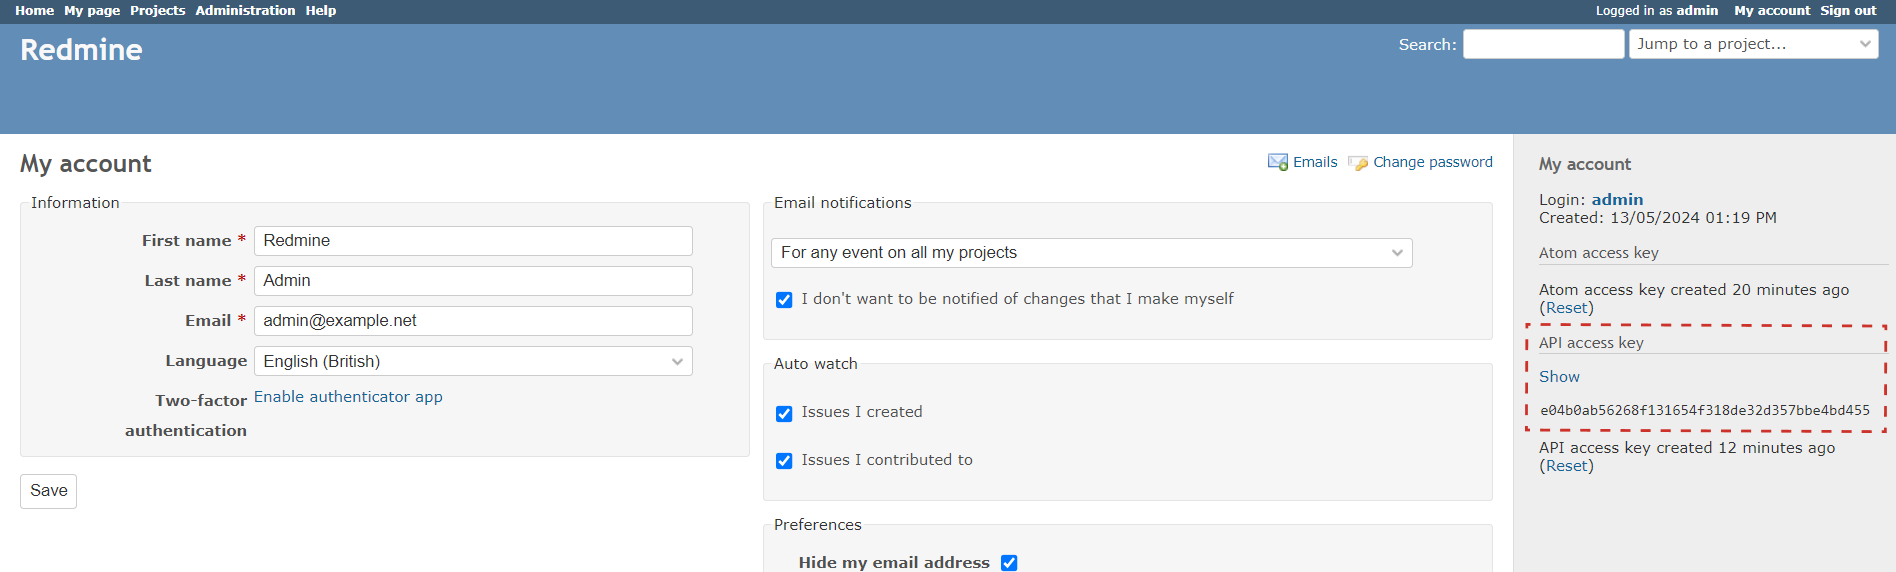
Fig. 830 API Key marked on the My Account page
If you cannot see the API Key section, it is possible that the Redmine API is disabled. To enable it, you must access Administration -> Settings -> API and enable the option Enable REST web service.
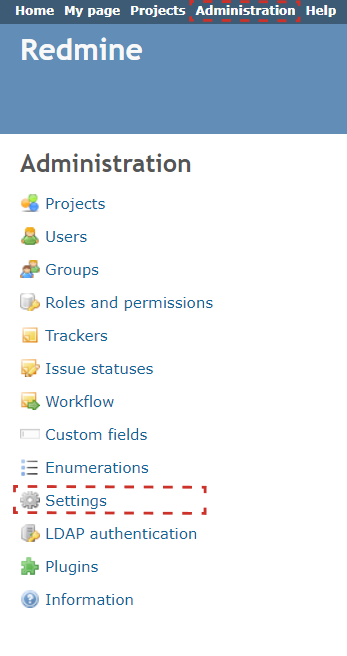
Fig. 831 Administration -> Settings marked on the Administration page
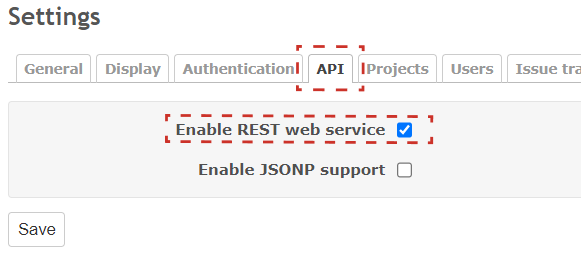
Fig. 832 API -> Enable REST web service marked on the Settings page
In Qflow Design, enter the link to Redmine and the API Key obtained as connection parameters.
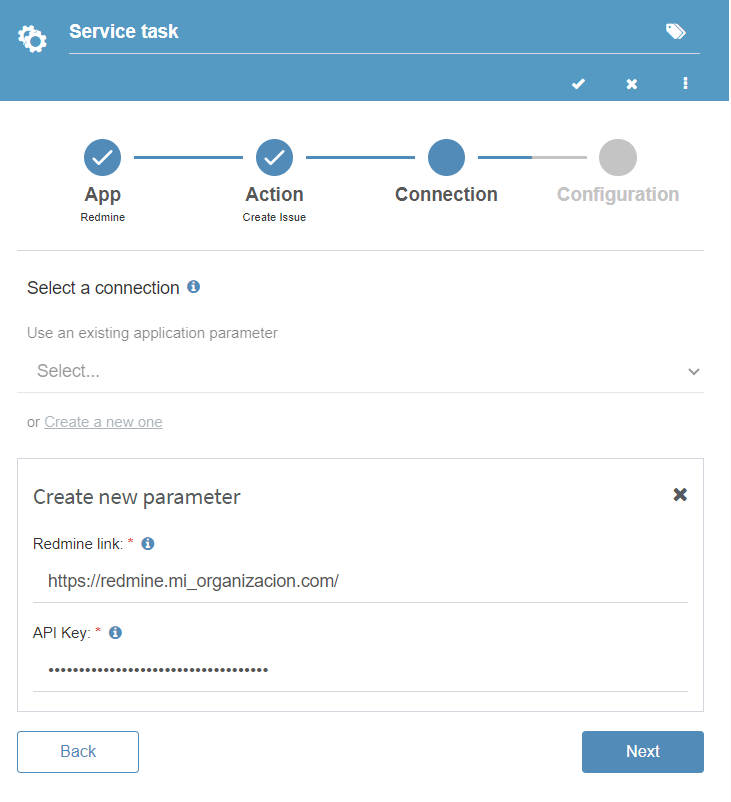
Fig. 833 Data added in the application parameter
Once the steps are completed, it will be possible to use Redmine with Qflow.
Actions
You can perform the following actions with Redmine:
Create issue
This action allows you to create an issue in a Redmine project. The necessary data must be provided for the creation of the issue. After creating it, its ID is obtained to be able to update it later.
Input |
Description |
|---|---|
Project |
Required. Project in which the issue will be created. |
Issue tracker |
Required. Tracker for the issue. |
Subject |
Required. Subject of the issue. |
Status |
Required. Status of the issue. |
Priority |
Required. Priority of the issue. |
Description |
Description of the issue. |
Assigned user email |
Email of the user assigned to the issue. |
Output |
Description |
|---|---|
Issue ID |
ID of the created issue. |
Update issue
This action allows you to modify the issue by entering the identifier received when creating it. Fields that are not completed will not be modified.
Input |
Description |
|---|---|
Issue ID |
Required. ID of the issue to modify. |
Status |
New issue status. |
Priority |
New issue priority. |
Assigned user email |
Email of the user to assign to the issue. |
Done ratio |
Percentage of completion of the issue. |
Notes |
Notes about the modification made. |
Delete issue
This action allows you to delete an issue by entering the identifier received when creating it.
Input |
Description |
|---|---|
Issue ID |
Required. ID of the issue to delete. |