DocuSign
Introduction
The purpose of this manual is to detail how to configure and integrate Qflow with DocuSign to enable interaction between both platforms, allowing you to send documents for signing, obtain the status of sent documents, retrieve the documents once they have been signed, and cancel the sending of documents previously sent for signing.
DocuSign offers the following actions:
See Actions to learn the description and content of each.
Prerequisites
A DocuSign developer account is required. You can create an account here.
Application Parameter
To establish the connection, you need at least one application parameter (see Application Parameters) that enables communication between Qflow and DocuSign. This field is used to configure the connector for a Service Task in Qflow (see Connector Configuration from a Service Task).
To create a DocuSign application parameter, the following steps are required as detailed below.
Application Parameter using JSON Web Token
This type of application parameter requires the following parameters:
Authentication Server: Authentication server used by DocuSign. By default it is ‘account-d.docusign.com’.
Integration Key: The integration key identifies your integration and is linked to your configuration values.
User Identifier: User identifier to access DocuSign services.
RSA Private Key: RSA encryption private key.
To obtain them, the following steps must be followed:
Access your DocuSign developer account here.
Click on your profile and then select My Apps & Keys to go to the Applications and keys section.

Fig. 834 Profile section
Once in the Applications and keys section, click on Add Application and Integration Key.
Fig. 835 Application and keys overview section
Enter a name to identify your new application, in this example we use the name ‘DocuSign-Qflow’.
Once the name is entered, select Create Application.

Fig. 836 Application creation section
When creating a new application, you will be redirected to its configuration section where you will find various available settings.
In this section you will find the Service Integration section, where you must select Generate RSA.
Fig. 837 Service integration section
By selecting Generate RSA, two keys will be generated, you must identify the one under the name Private Key. This key is the one that must be placed in the parameter RSA Private Key, so you must copy it and save it for later use.
Fig. 838 RSA keys section
Within the application settings, you will also find the Additional Configuration section, in this you must select Add URL in the Redirect URLs part.
Fig. 839 Additional configuration section
You must enter the following URL: https://developers.docusign.com/platform/auth/consent.
Fig. 840 Additional configuration section
Once the aforementioned steps have been completed, at the bottom of the page you must select Save.
Fig. 841 Save changes section
When saving the changes, you will be shown again the section of Applications and keys, where in My Account Information you will find the User Identifier parameter.

Fig. 842 Applications and keys section
In this same section further down you will find Application and Integration Keys where you can view the applications you have created identified by their name. Here you must search for the created and previously configured application and copy the Integration Key parameter.
Fig. 843 Applications and keys section
Following the steps of this guide, you will have been able to obtain three of the four parameters necessary for the connection:
Integration Key
User Identifier
RSA Private Key
As for the Authentication Server parameter, by default the value you should use is ‘account-d.docusign.com’. This value only changes if you want to use another server for authentication with DocuSign, in which case you should use the server you configure.
Once all the necessary parameters for the connection are obtained, the first time you use them, you will need to grant access to the previously created application so that Qflow can communicate with it. You can do this directly when you create the connection parameter from the service task as follows:
At the bottom of the Connection panel of the DocuSign integration, once the four parameters are entered, select Grant access to DocuSign.
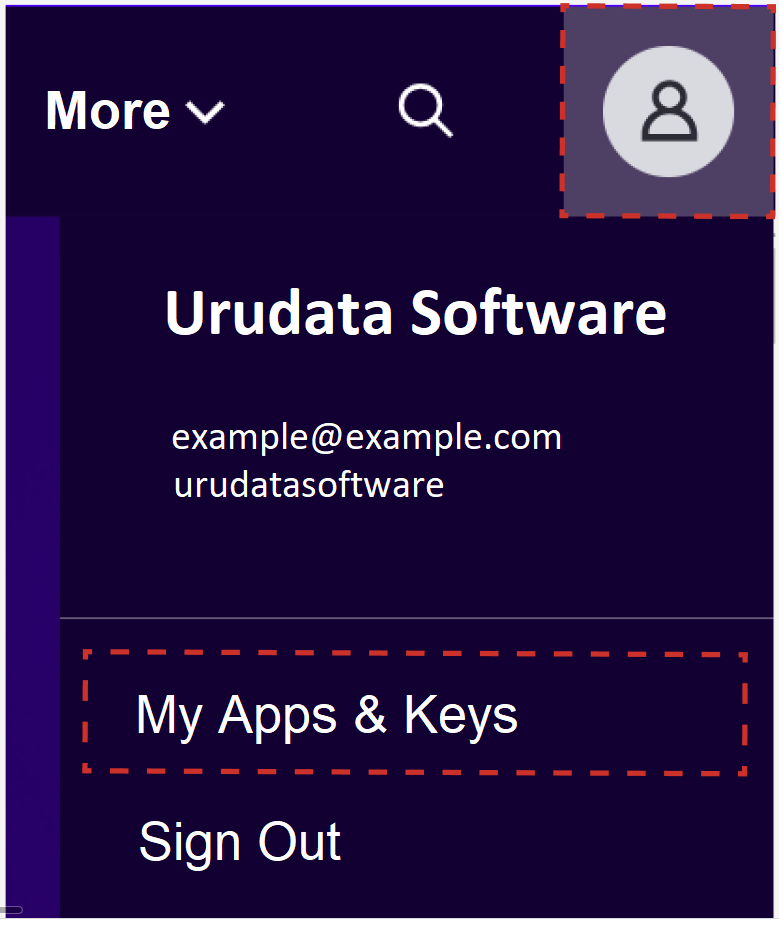
Fig. 844 DocuSign Connection Section
Once that is done, a window will open where you will be asked to log in to your DocuSign developer account if you are not already logged in, and then you will be shown the next window where you must select Allow access.
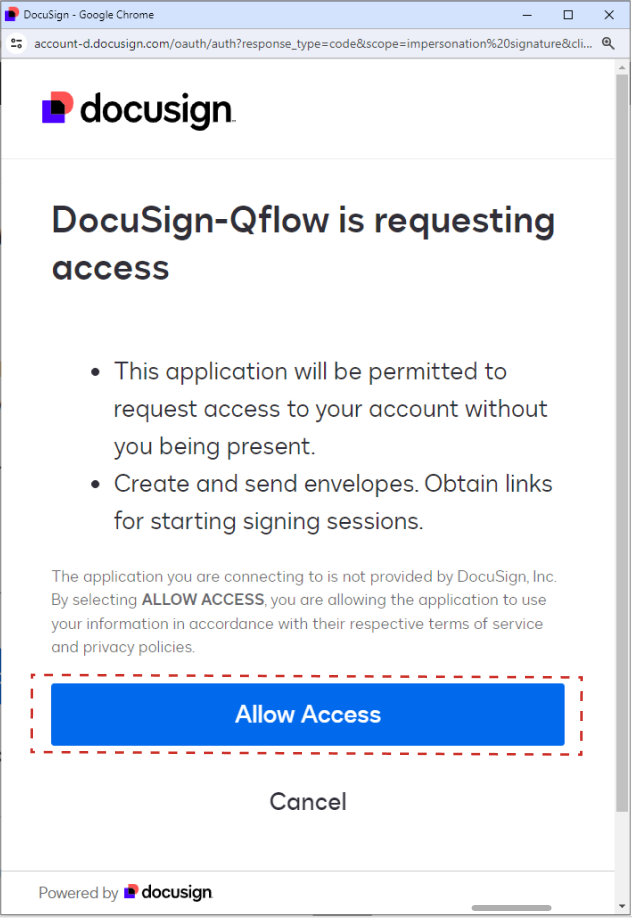
Fig. 845 DocuSign Allow Access Section
Once these steps are completed, you can use your connection parameter with DocuSign.
Actions
The following actions can be performed with DocuSign:
Send documents to sign
This action allows you to select documents and send them for signature using DocuSign. The email addresses and names of the signers must be provided mandatory. Optionally, additional fields listed below can be added. When sending the documents to be signed, a key is received that identifies the envelope in DocuSign, which can be used later to obtain the status of the documents, cancel the sending, or obtain the documents.
Input |
Description |
|---|---|
Signers emails |
Required. Email addresses of the individuals responsible for signing the document(s). They must be in the same order as ‘Signers names’. |
Signers names |
Required. Names of the individuals responsible for signing the document(s). They must be in the same order as ‘Signers emails’. |
Documents |
Required. Documents to be sent for signing. |
Email subject |
Required. Subject of the email that will be sent with the documents to be signed. |
CC Emails |
Email addresses of individuals to be carbon copied on the email when sending documents for signing. They must be in the same order as ‘Names of recipients incarbon copy (CC)’. |
Names of recipients in carbon copy (CC) |
Names of individuals to be carbon copied on the email when sending documents for signing. They must be in the same order as ‘CC Emails’. |
Signature order |
Order in which the email is sent to signers. If a numerical order is specified for the recipients, they will receive the documents sequentially based on that order, from lowest to highest. If no order is assigned to some, or they are assigned an order of 0, they will receive the documents simultaneously after the sequential sending ends. If no order is assigned to any recipient, they will all be sent at the same time. For example, if you want to send the document first to ‘Person 1’ and then to ‘Person 2’, you must assign ‘1’ to ‘Person 1’ and to ‘Person 2’, you could either assign the order ‘2’ or directly not assign any order. The order is assigned in the same order as the recipients are listed, for example, if you add the recipient ‘Person 1’ and then ‘Person 2’, the first order added will correspond to ‘Person 1’ and the second to ‘Person 2’. If you only want to assign an order to ‘Person 2’, the first order added must be empty. |
Enable expiration |
If this option is activated, the possibility of signing the document will expire after the specified number of days in ‘Validity (days)’. It also allows adding an expiration notice. |
Validity |
Number of days the document will be available for signing. This field will only be considered if the ‘Enable expiration’ option is activated. |
Expiration notice |
Number of remaining days before the possibility of signing the document expires, at which time a notification will be sent to the recipients. This field will only be considered if the ‘Enable expiration’ option is activated and the ‘Validity (days)’ field is completed. |
Enable reminder |
If this option is enabled, recipients will receive a reminder after the number of days indicated in “First Reminder (days)” has passed, as well as being resent the reminder according to the ‘Reminder Interval (days)’. |
First reminder (days) |
Number of days between sending the documents for signing and the first reminder to recipients to perform this action. This field will only be considered if the ‘Reminder’ option is activated. |
Interval between reminders (days) |
Number of days between reminder sendings to recipients to sign the documents. This field will only be considered if the ‘Enable Reminder’ option is activated and the ‘First Reminder (days)’ field is completed. |
Output |
Description |
|---|---|
Envelope ID |
Identifier of the envelope returned by DocuSign to obtain information about the status of the documents sent for signing, retrieve the signed documents, or cancel the sending of the documents for signing. The envelope is generated by DocuSign and contains the set of documents sent for signing. |
Get status of documents sent for signature
This action checks the progress of the signing request by entering the envelope identifier generated when sending documents through DocuSign.
Input |
Description |
|---|---|
Envelope ID |
Required. Identifier of the envelope returned by DocuSign when sending documents for signing. |
Output |
Description |
|---|---|
State modification date |
Last date on which the file changed its status |
Status |
Current status of the documents sent for signing. You can check the list of possible statuses in the DocuSign documentation here. |
Sent date |
Date when the documents were sent for signing |
Get signed documents from DocuSign
This action retrieves the documents with signatures made up to the moment in PDF format by entering the envelope identifier received when they were sent, as well as a PDF document with the status of the signing process.
Input |
Description |
|---|---|
Envelope ID |
Required. Identifier of the envelope returned by DocuSign when sending documents for signing. |
Output |
Description |
|---|---|
Documents |
Documents previously sent for signing using DocuSign |
Summary |
Document containing the general context of the signing process, such as the current status, the number of signatures so far, and the events that have occurred. |
Cancel signing of documents
This action cancels the signing process for documents by providing the envelope identifier and the reason for cancellation.
Input |
Description |
|---|---|
Envelope ID |
Required. Identifier of the envelope returned by DocuSign when sending documents for signing. |
Cancellation reason |
Required. Reason for which you want to cancel the signing of the documents. |