ILovePDF
Introduction
The purpose of this manual is to detail how to configure and integrate Qflow with the ILovePDF connector, describing each of the actions it provides for handling documents or PDF files and how to incorporate them into the platform’s processes.
The connector has the following action:
Prerequisites
A ILovePDF account and a public API Key with conversion permissions are required.
Application Parameter
To establish the connection, an application parameter is required (see Application Parameters) to enable communication between Qflow and ILovePDF. This parameter is used to configure the connector within a Qflow Service Task (see Connector Configuration from a Service Task).
To create an ILovePDF application parameter, the following steps are required, detailed below.
Application parameter using Public API Key
This type of application parameter requires the following:
API Key: Public key generated from the ILovePDF dashboard.
To obtain it, follow these steps:
Go to the ILovePDF website (https://www.iloveapi.com/) and create an account, or use an existing one.
Go to Projects → API Keys and copy the public key.
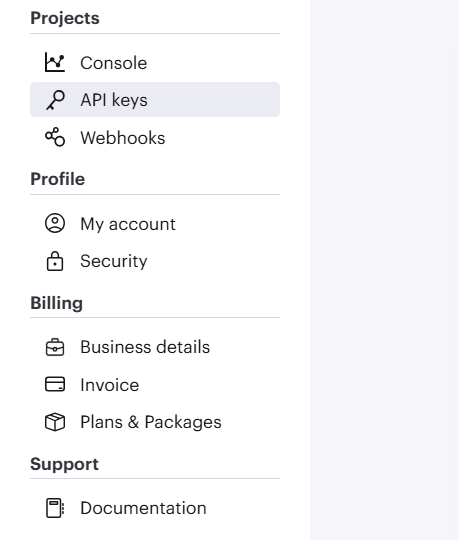
Fig. 866 ILovePDF panel with Public API Key section.
It is not mandatory to use a different API Key per process. However, it is recommended to generate one key per process to facilitate management, usage monitoring, and security. You can generate new keys from the following panel:
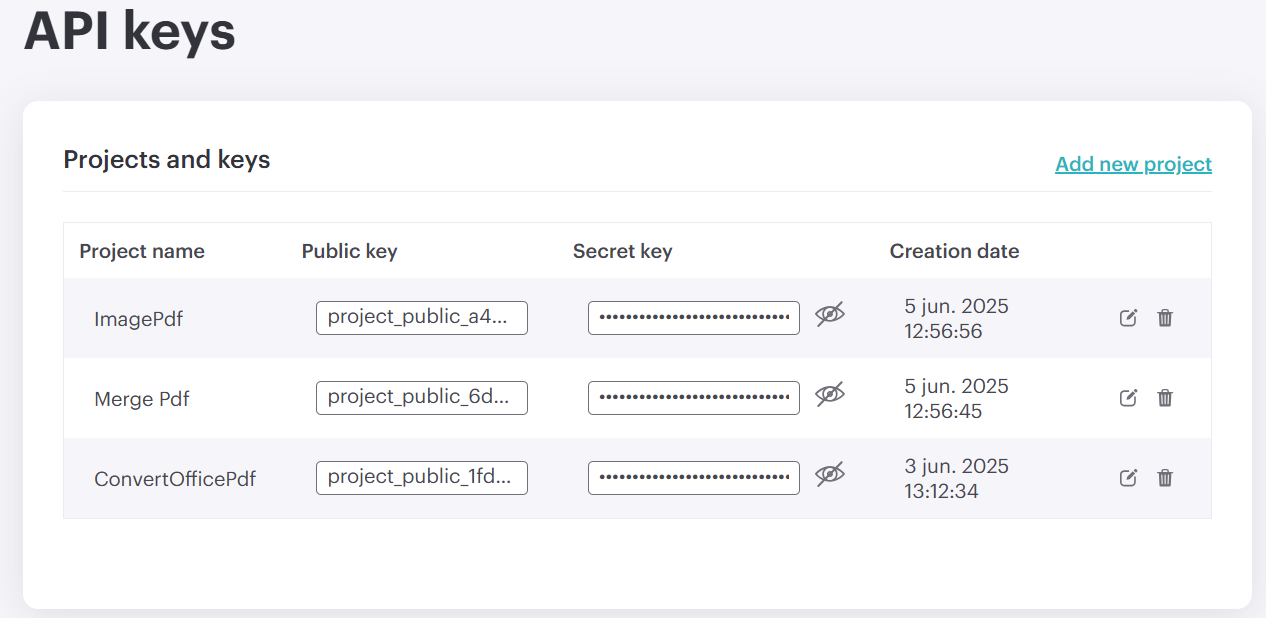
Fig. 867 Public API Key available to copy, and a link to create new projects.
If you want to create a new key, simply assign it a name and save it. It will be generated in the panel shown above.
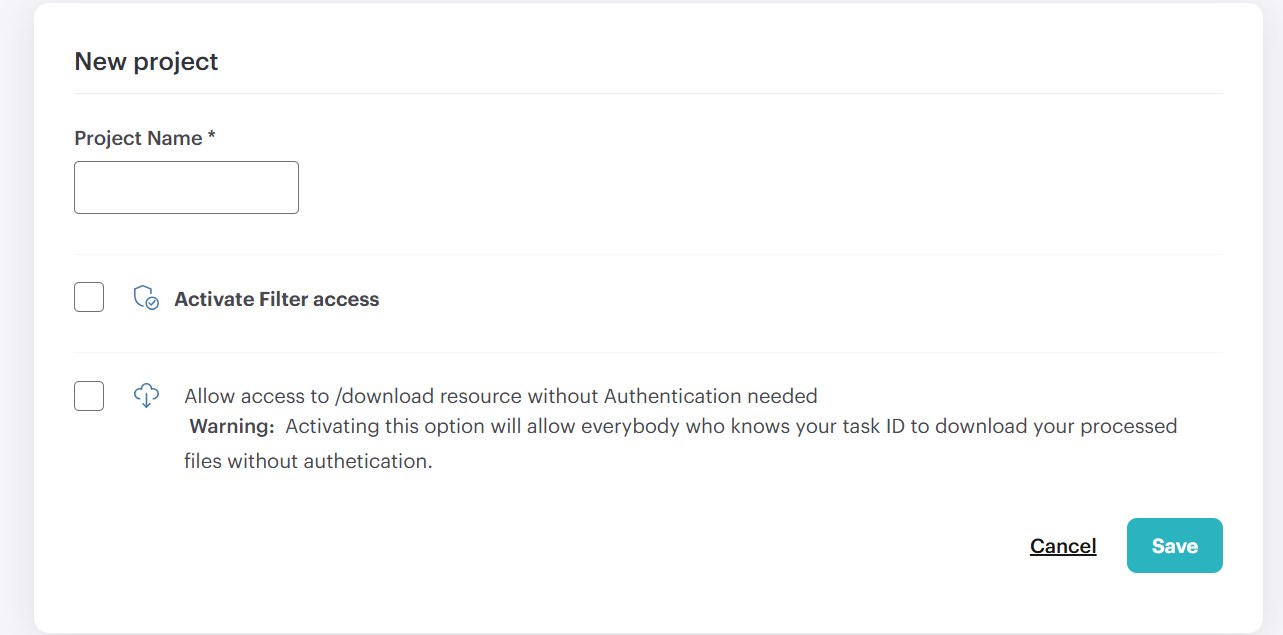
Fig. 868 Panel to create new API Keys
In Qflow Design, select the connector and configure the obtained Public API Key as the connection parameter.

Fig. 869 Data added in the application parameter
Actions
With ILovePDF, the following action can be performed:
Convert Office File
This action allows converting Office documents into a single PDF file.
Input |
Description |
|---|---|
File to convert |
Required. Enter the name of the document-type data item that contains the Office file you want to convert to PDF. The file size must not exceed 50 MB. |
Name of the converted PDF file |
Enter the name of the converted PDF file. You cannot use characters not allowed by Windows, such as: ? " | * / \ < >. |
Output |
Description |
|---|---|
Converted PDF file |
Enter a document-type data item that will contain the final PDF file resulting from converting the selected file. |
Merge PDF files
This action allows you to merge multiple PDF documents into a single resulting file.
Input |
Description |
|---|---|
Files to merge |
Required. Enter the name or names of the document-type data items that will contain the PDF files to merge. The total size of the files must not exceed 50 MB. |
Name of the resulting file |
Enter the name of the resulting merged PDF file. You cannot use characters not allowed by Windows, such as: ? " | * / \ < >. If left blank, result.pdf will be used. |
Output |
Description |
|---|---|
Resulting PDF file |
Enter a document-type data item that will contain the final PDF file produced by merging the selected files. |
Convert image to PDF
This action allows you to convert a single image into a PDF file.
Input |
Description |
|---|---|
Image to convert |
Required. Enter the name of the document-type data item that will contain the image to convert. The total size must not exceed 50 MB. Supported extensions: JPG, JPEG, PNG, TIF, TIFF. |
Name of the converted PDF file |
Enter the name that the generated PDF file will have. You cannot use characters not allowed by Windows, such as: ? " | * / \ < >. |
Output |
Description |
|---|---|
Converted image |
Enter a document-type data item that will contain the final PDF file generated by converting the selected image. |