Qflow AI
Introduction
The purpose of this manual is to detail how to configure and integrate Qflow with the Qflow AI connector, describing each of the actions it offers for intelligent document processing using artificial intelligence and how to incorporate them into processes.
The connector has the following actions:
Actions
The following actions can be performed with Qflow AI:
Generate summary
This action allows you to generate a summary of a PDF document using artificial intelligence.
Input |
Description |
|---|---|
Document |
Required. Enter the name of the document type data that will contain the PDF file you want to summarize. The document can have a maximum of 30 pages. |
Additional context |
Optional. Enter additional instructions for generating the summary. For example, “pay closer attention to the sections of the document that discuss artificial intelligence”. |
Summary length |
Optional. Enter a number between 1 and 10 that determines the length of the summary (1=short, 10=long). By default, 5 will be used. |
Output |
Description |
|---|---|
Summary |
Enter a text type data that will contain the summary of the PDF document generated by artificial intelligence. |
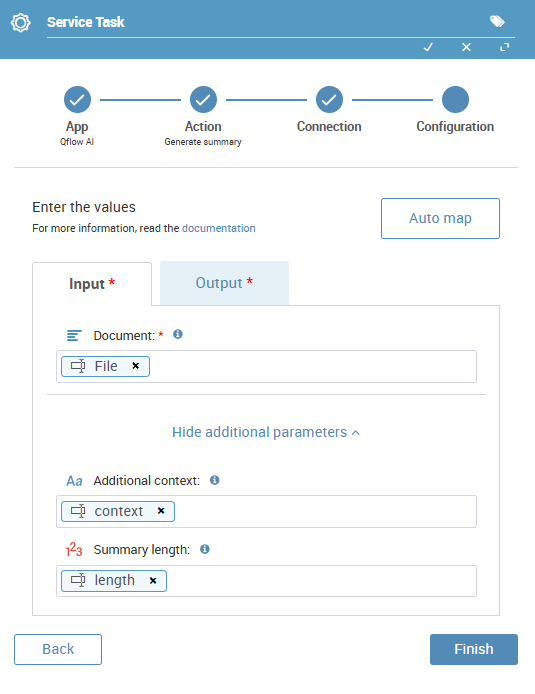
Fig. 870 Input configuration for Generate summary

Fig. 871 Output configuration for Generate summary
Extract data
This action allows you to extract specific data from a PDF document or image using artificial intelligence.
Input |
Description |
|---|---|
File |
Required. Enter the name of the document type data that will contain the PDF file or image from which data will be extracted. The document can have a maximum of 10 pages. Supported image formats are: PNG, JPG, WEBP, GIF, and BMP. |
Additional context |
Optional. Enter additional instructions for data extraction. For example, “In the contador_filas tag, count how many rows the invoice has”. |
Output |
Description |
|---|---|
Data to extract from the file |
Required. Configure the list of tags that will be searched in the file and saved in the corresponding data. Enter the tag name on the left and insert the corresponding data on the right. The data can be of type text, date and time, date, True/False, or numeric. |
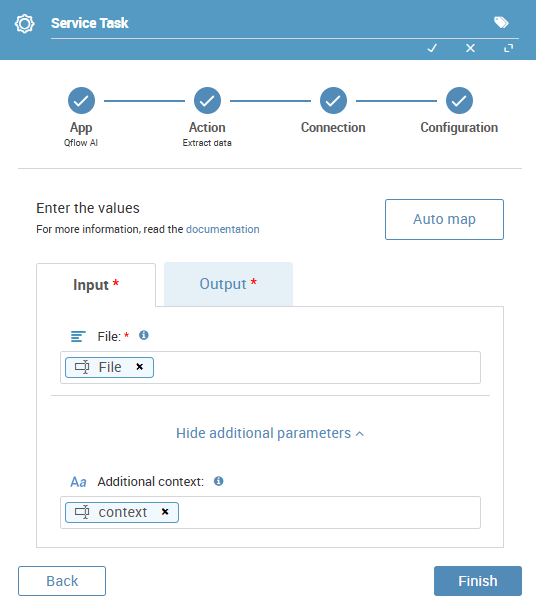
Fig. 872 Input configuration for Extract data
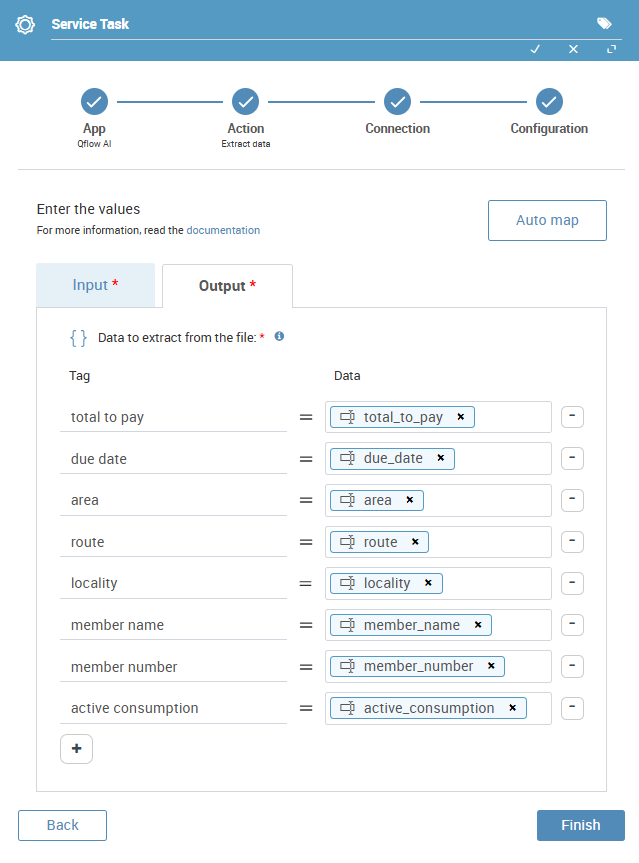
Fig. 873 Output configuration for Extract data